16 - Kick It
Back to Overview
Let's add a bit of a kick to our track! An effective kick drum can be synthesized with a simple sine wave.
First of all, create a new mono track in your Audacity project by going to the Track menu and selecting Add Track -> Mono Track
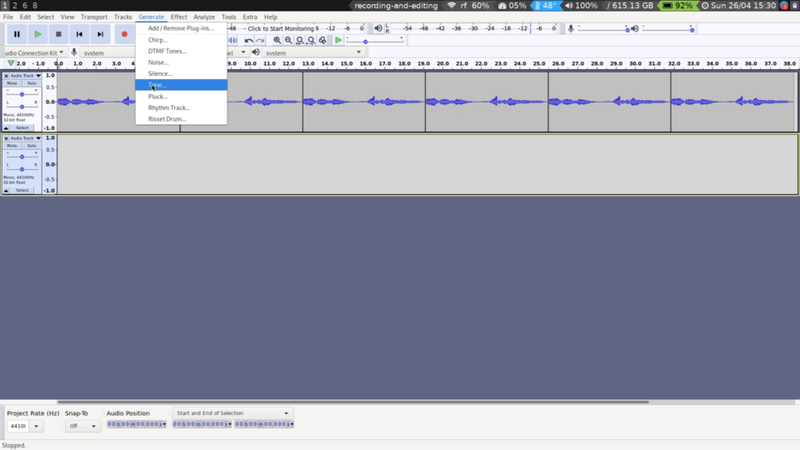
Next, make a sine wave by selecting Generate -> Tone.
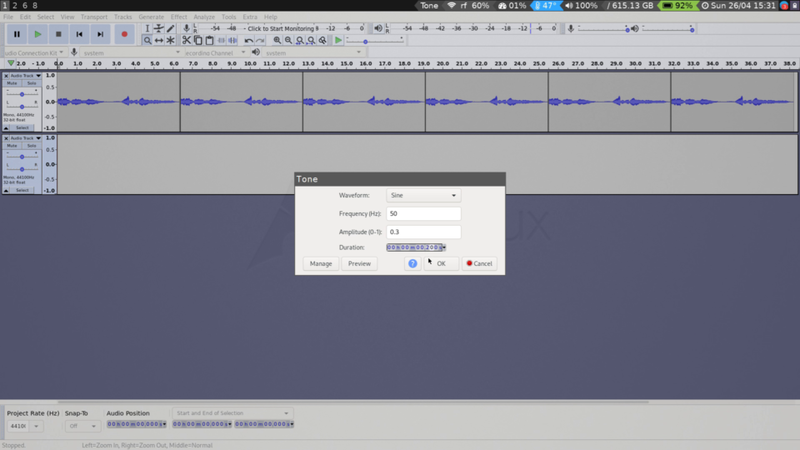
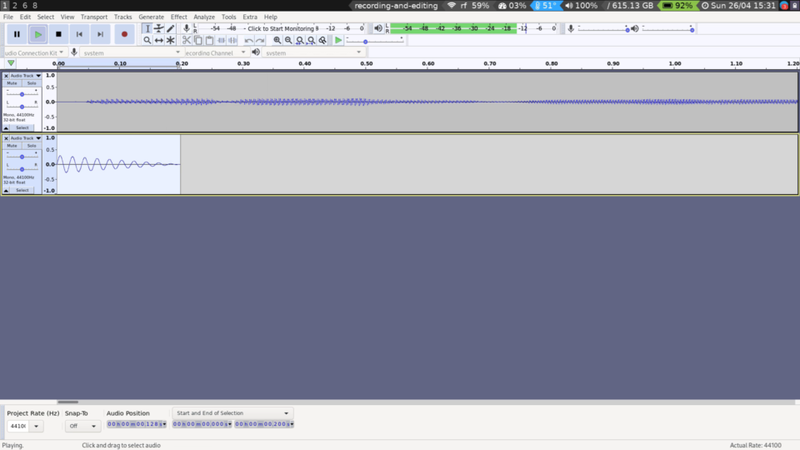
We're going to set the Frequency to 50, Amplitude to 0.3, and Duration to 0.2 seconds. Click OK.
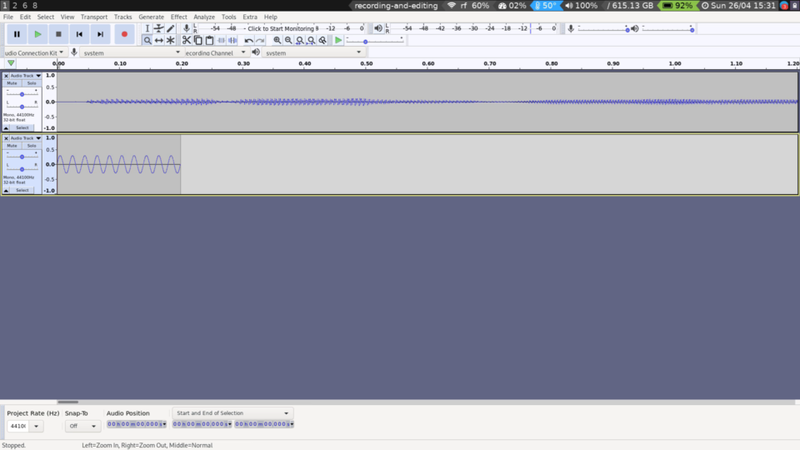
Your track should now look like this:
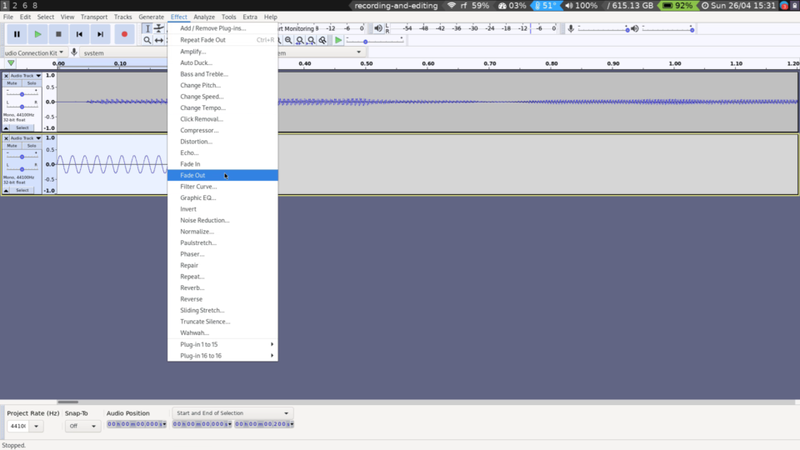
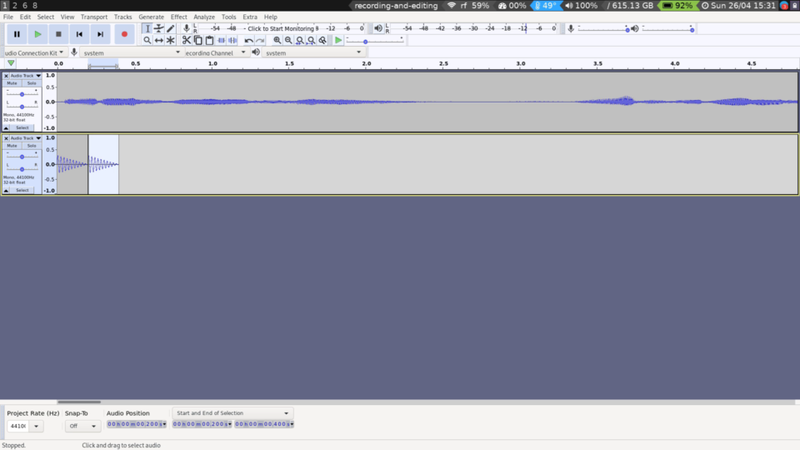
This does not sound very much like a kick drum yet, so Select it. Then head up to the Effect menu and select Fade out.
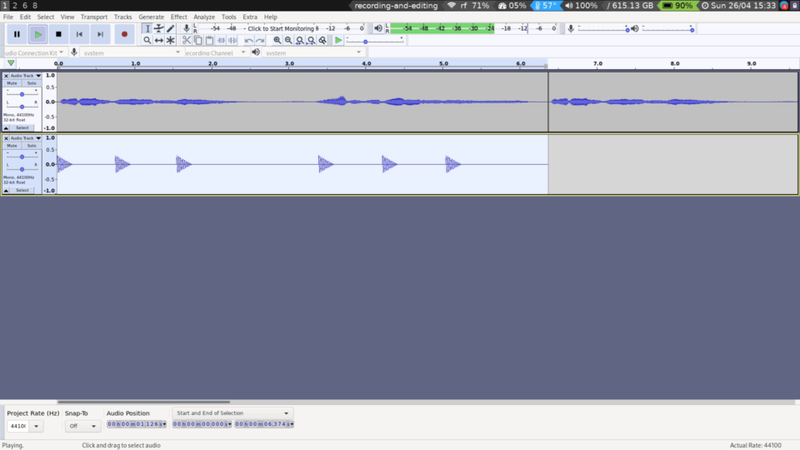
Your boring sine wave is already becoming much more exciting:
It will be even more exciting when we create several copies of it! Use the same technique as described in the previous section.
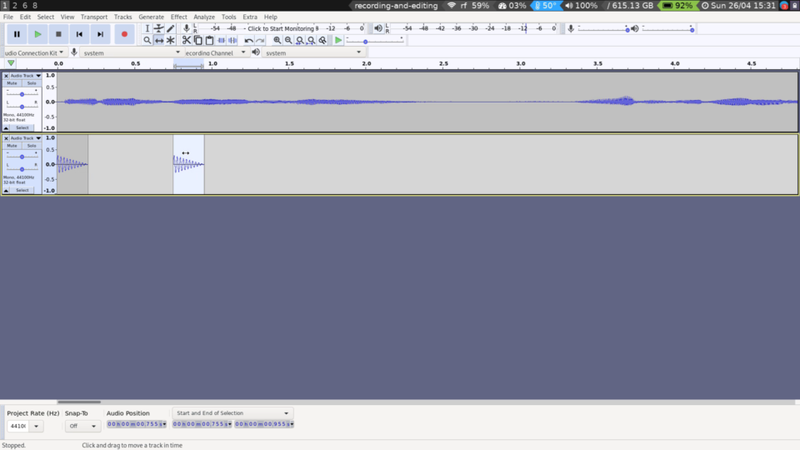
Let's say hello to a new friend, the Time Shift, which looks like this:
But is better known as keypress F5. Use this to move the copy of the kick drum to a better location.
Change back to the Select tool (or better yet, press F1. The sooner you learn keyboard shortcuts, the more effective your workflow will be). Place this roughly where you want the next kick, and press Ctrl-v to paste a new copy. Repeat until you have a rhythmical pattern you are happy with, using the Time Shift tool to make small adjustments.
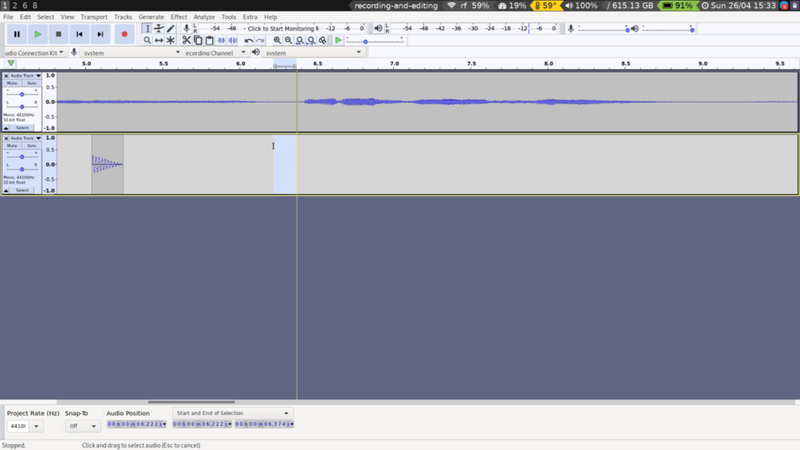
Once you are happy with your groove, you want to consolidate it. To do this you need to get a little counter-intuitive. First of all select a small section of nothingness where you want your drump loop to end.
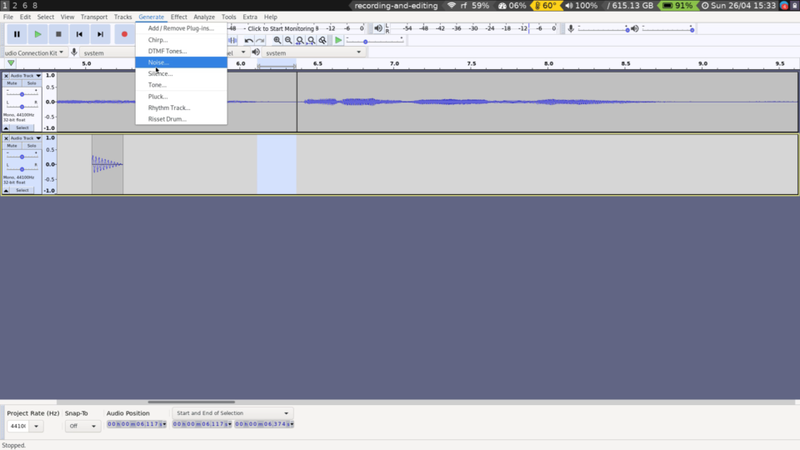
Head over to the Generate menu again, and this time select Silence.
Click OK on the dialog that pops up and enjoy the silence you have created.
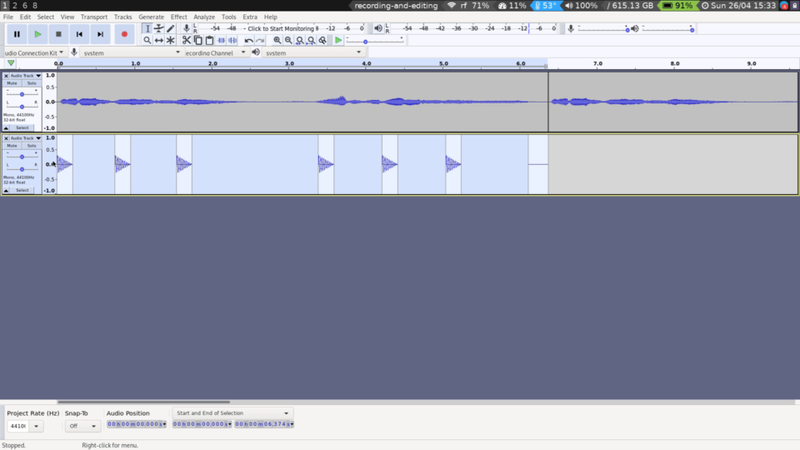
Next, Select everything from the end of the silence to the beginning of the first beat. Make sure you do this precisely! The yellow lines that pop up around a cut will help you with this.
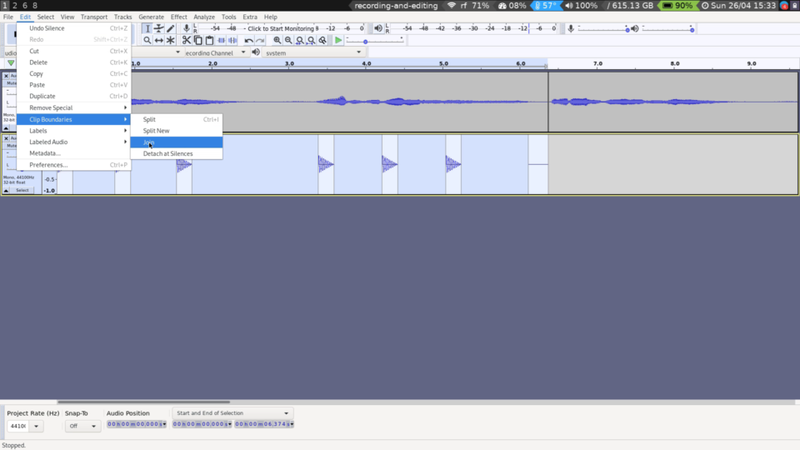
Select Edit -> Clip Boundaries -> Join.
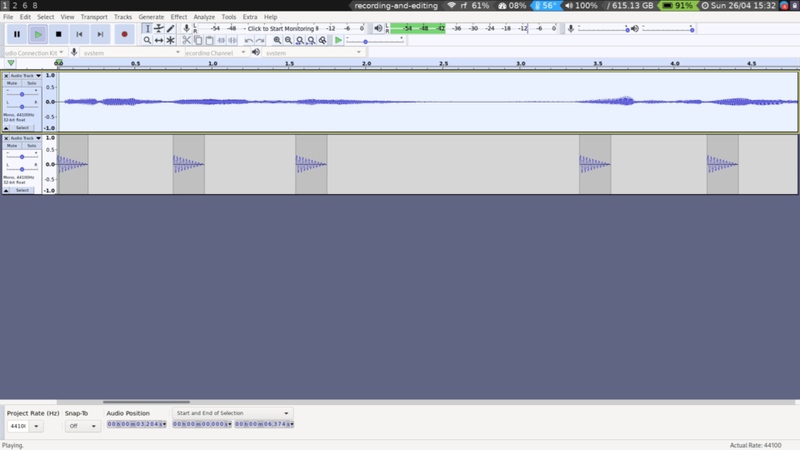
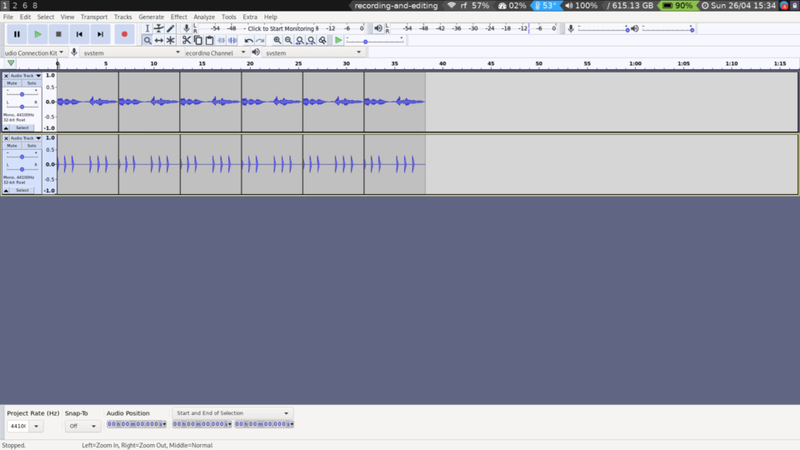
Behold the magic:
Zoom out and copy-paste to your heart's content.

