20 - Delay and Reverb
Back to Overview
One of the most fundamental ways to process audio is by delaying a signal and feeding it back in on itself. This is the basis for a lot of familiar effects: reverb, phasors, chorus, filters and so on. Let's get to know this essential effect!
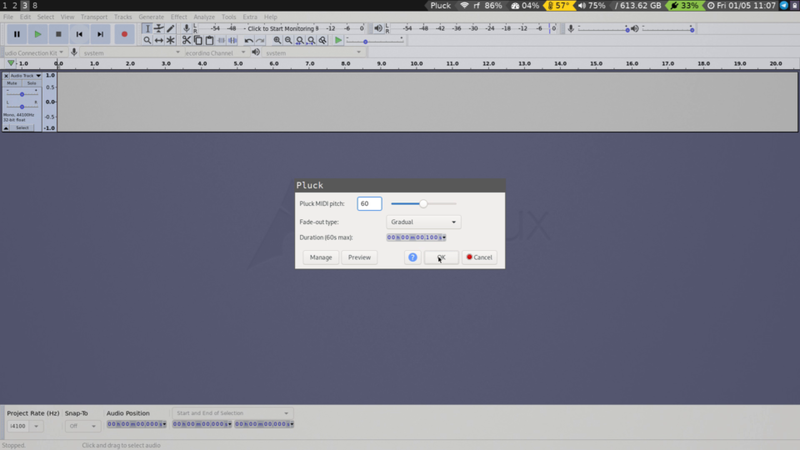
To give the delay effect something to delay, we will generate an initial impulse. Create a new project in Audacity and go to Generate -> Pluck. Let's leave the Pluck MIDI pitch at its default setting of 60, set the Fade type to Gradual and Duration to 0.100 seconds.
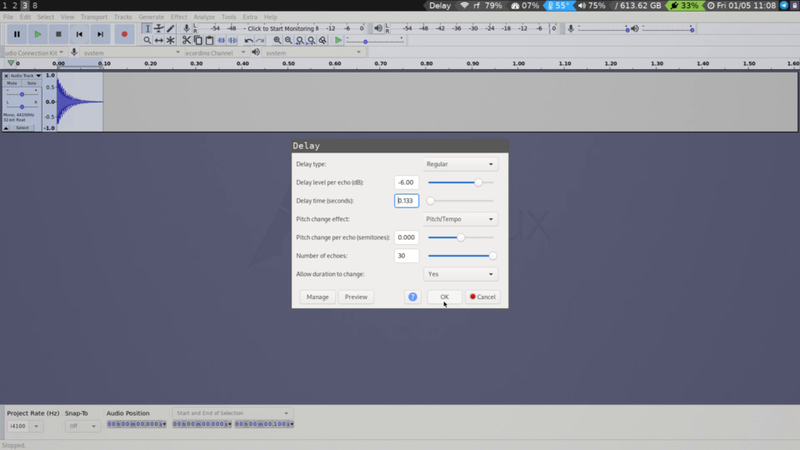
Select the waveform you just created and go to Effect -> Plug-in 1 to 15 -> Delay.... In the resulting dialog let the Delay time be 0.1333, and set Number of echoes to 30.
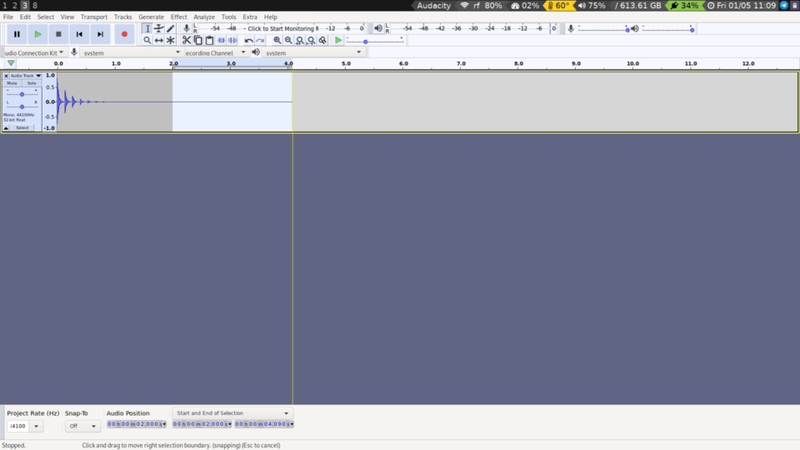
Zoom out a bit to see the waveform in context, and let's get rid of some silence at the end. Make a selection from 2.000 seconds to the end of the clip. At this point you probably want to set the Start point of the selection in the bottom of the screen, to make sure this is precise. Hit Delete.
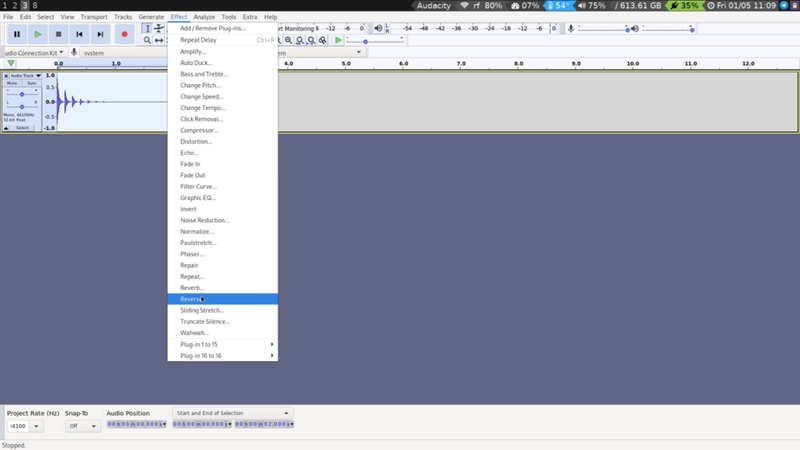
Let's create a bit of otherworldliness by reversing what we just created: Effect -> Reverse
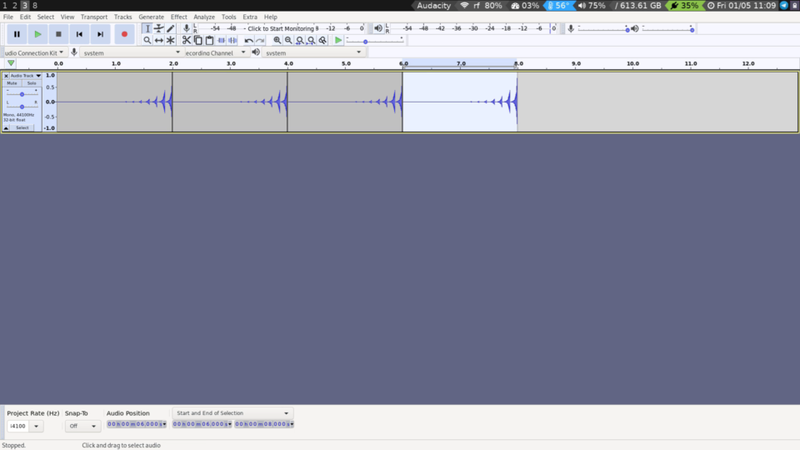
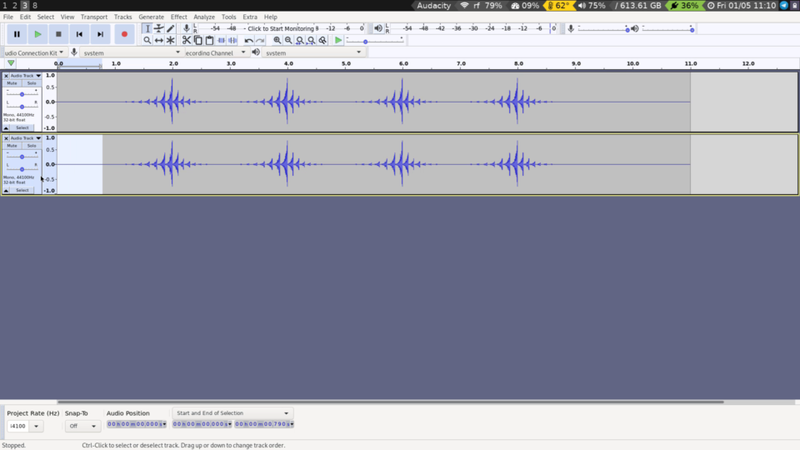
Copy-paste a few times.
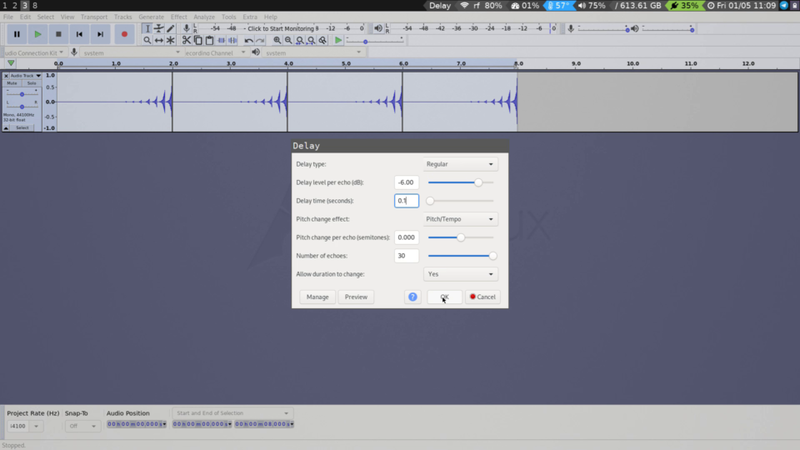
Select all the elements and return to Effect -> Plug-in 1 to 15 -> Delay.... Leave everything else the same, but change the delay time to 0.1.
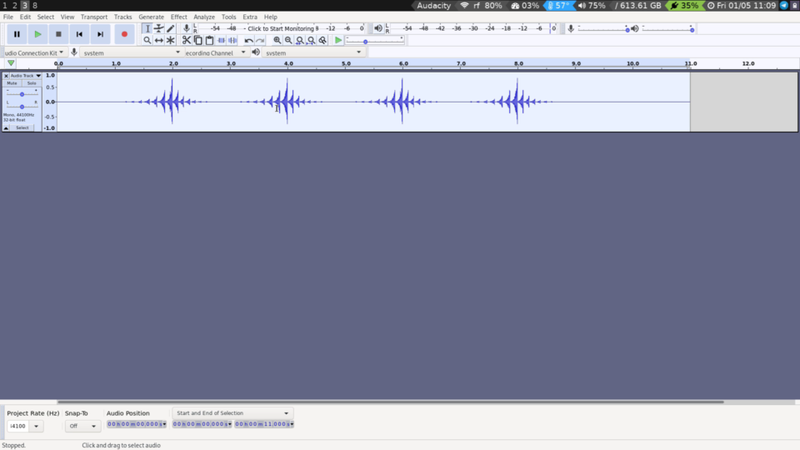
Glue the clips together by selecting Edit -> Clip Boundaries -> Join.
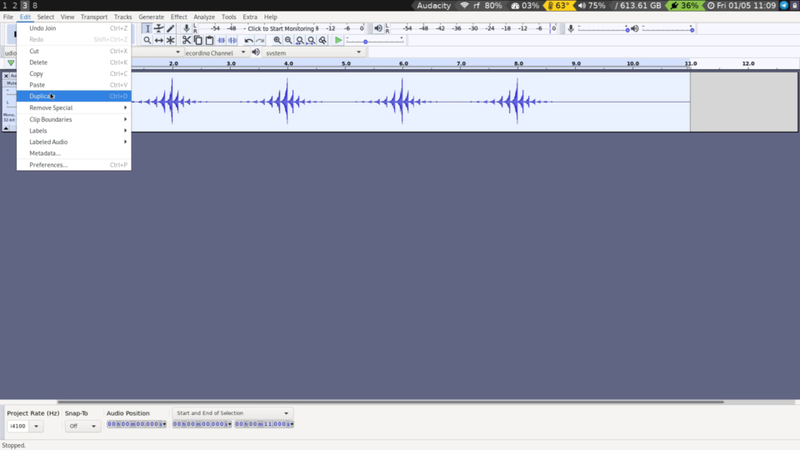
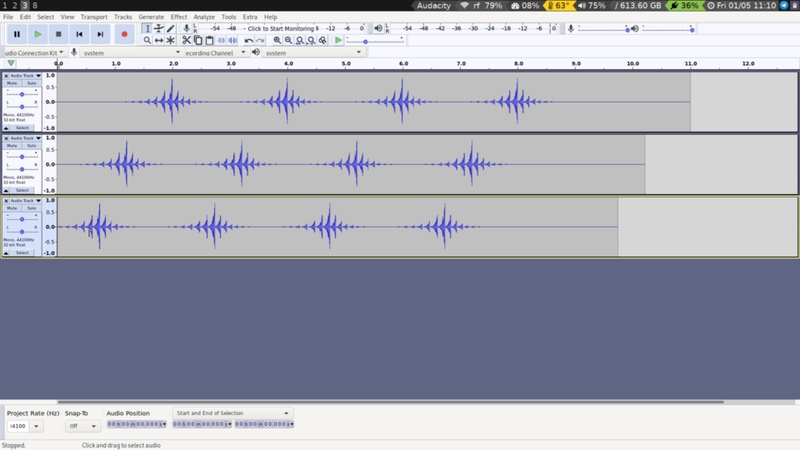
This is all very cool, but we can make things a bit more lively still. Make sure the clip is selected and go to Edit -> Duplicate.
Snip off the beginning of the track you have just created.
Repeat the procedure with a new track.
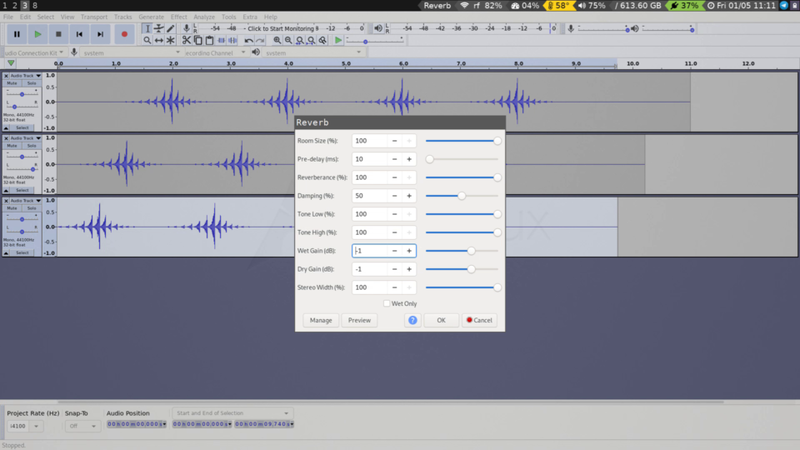
Set the pan of the first and second track to the left and right, respectively, before selecting the third track and heading over to Effect -> Reverb. At this point we don't want to be subtle at all, so set Room Size to 100 and Reverberance to 100%, before you hit OK.
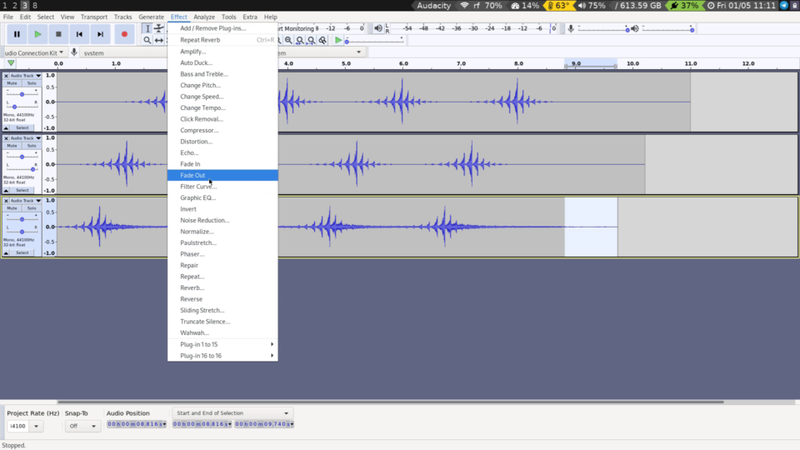
The reverb tail cuts off a little bit too soon, so fade out the last bit.
