19 - Amplitude Automation
Back to Overview
Now that we start getting a grip on beat frequencies, let's take a look at how this can develop over time. Start by adding two more sine waves to your project at 57hz and 58hz.
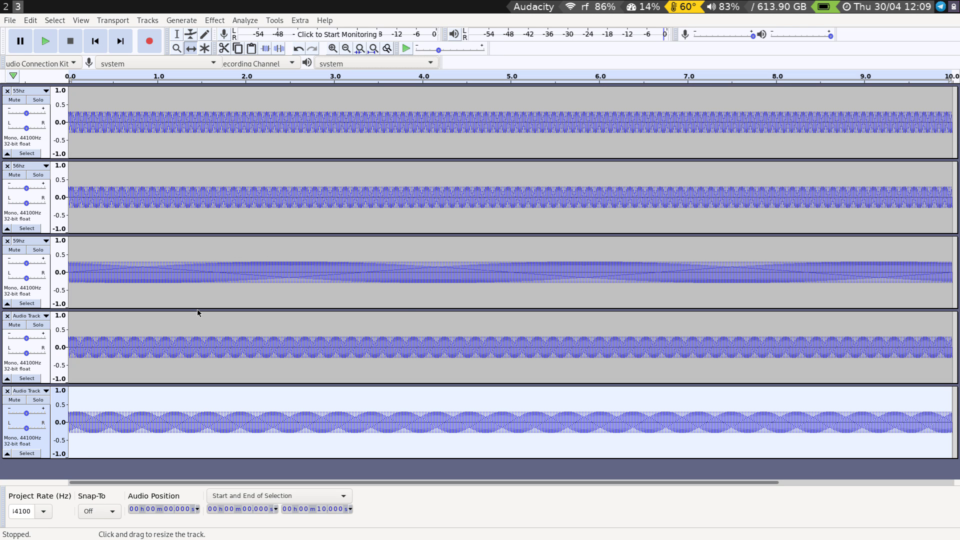
Now is a good time to rename your tracks, so that we know what is what. Go to the Audio Track label and click on the triangle on the right-hand side. Select Name... and give it a good name. No need to get very creative at this point.

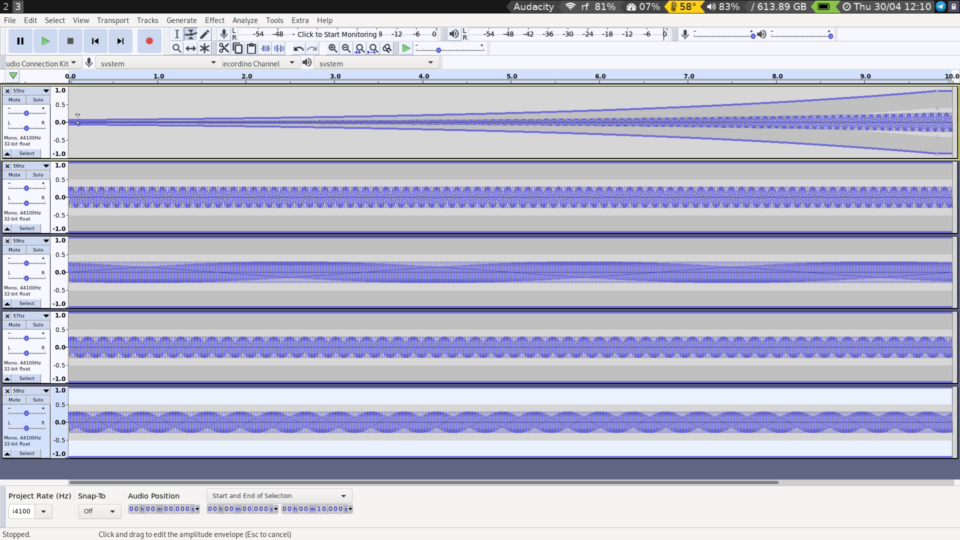
Let's get to know a new addition to our toolbox: the Envelope Tool. When you select this, you will see the waveform display changing. Click on the top edge of the topmost track close to the end to define a reference point. Click a bit further away on the same top edge and drag it all the way down. You have now created a slow fade-in.
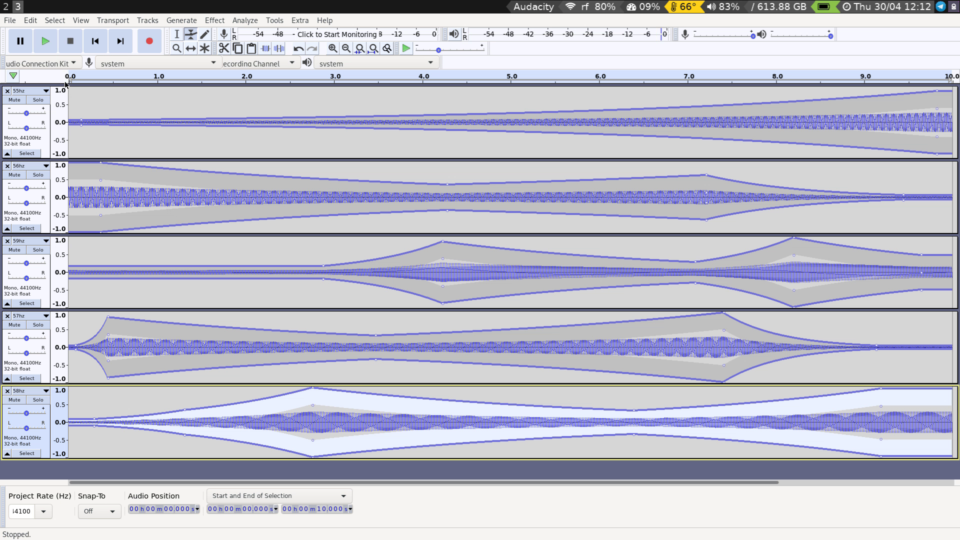
Do a similar thing with the second track, but get a bit more creative with your curves:

Repeat for each track, more or less randomly creating amplitude curves throughout. Listen to the result, and make sure the combined signal does not exceed 0db! Keep checking the meter on the top of the page to make sure.